Believe it or not, installing a mailbox – a curbside mailbox mounted on opposed or a door slot or something mounted on your exterior walls, it makes no difference – is relatively simple and straightforward. Sure, you’ll need a handful of tools and a little bit of know-how. But anyone with a weekend afternoon and some good weather, as well as this detailed guide, should be able to knock the project out with no real extra effort whatsoever.
That being said, this isn’t a project you’re going to want to undertake willy-nilly. You definitely need to be focused as you go through the different steps, producing a mailbox that the USPS will actually use. Yes, they have specific requirements that your mailbox needs to meet if you’re going to be able to use it to receive mail in the first place. Luckily, those requirements aren’t crazy – but they are important! Be sure that you pay close attention to all the details outlined below and you’ll have no trouble whatsoever with installing your new mailbox of your choice going forward.

What Kind of Mailbox?
The first big piece of the puzzle that you have to get right straightaway is what kind of mailbox you’re going to do moving forward. When you get right down to it, there are really only two different kinds of mailboxes:
Sure, mailboxes come in every shape, size, color, and configuration imaginable (we have all seen a novelty mailbox in our neighborhood before) – but by and large they are all going to fall into these two major categories.
Both of these mailboxes have pros and cons and both of them follow a unique installation process. The budget for these two mailboxes (and the work involved installing them) is going to be different, too. Curbside mailboxes, for example, make life a whole lot easier for mail carriers that never have to leave the vehicle to drop your mail off. When positioned and installed correctly that they are safe, functional, and can even add a bit of curb appeal to your home – like those novelty mailboxes we mentioned earlier! They also happen to be a little sturdier, little stronger, and (generally) better build than your average wall-mounted mailbox. But the budget for them is significantly higher, too – as is the installation labor investment.
On the flip side of things, door slot and wall-mounted mailboxes are super inexpensive, generally very easy to install, and are going to give you a lot of headache or hassle as long as you know your way around power tools. Of course, these kinds of mailboxes also have a much smaller mail capacity – and that might be a problem if you’re having a lot of packages, parcels, or envelopes delivered to your house on a regular basis. Combine that with the fact that they’re less secure, flimsier, and some people balk at the idea of cutting into their door to install a door slot and you definitely have some decisions to make here. Only you are going to know which one of these options are right for you forward!

Curbside Mailbox Installation
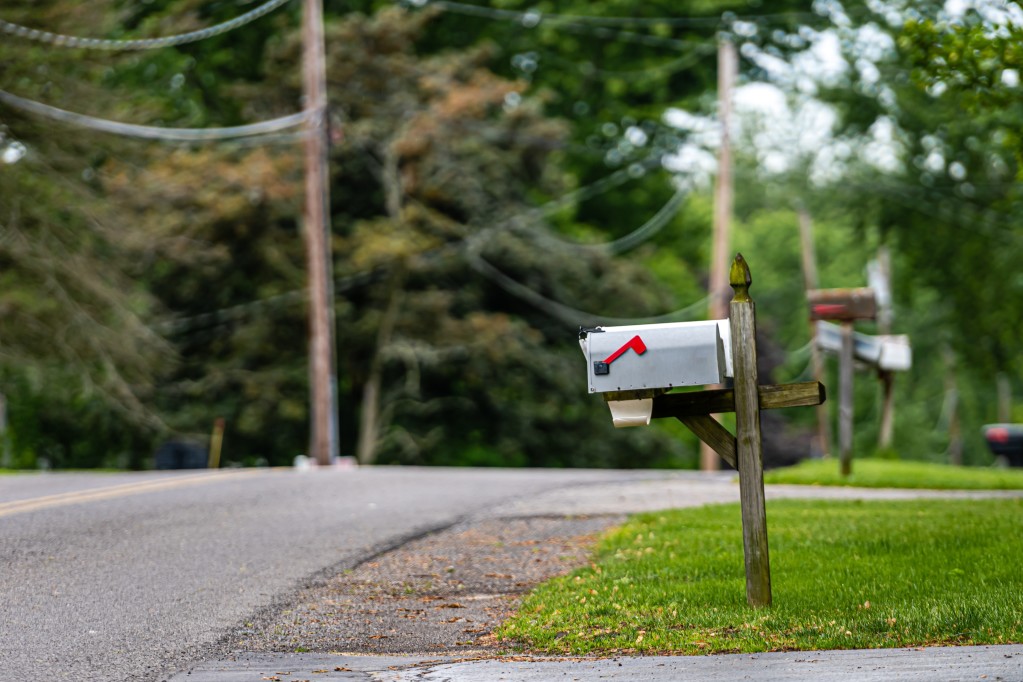
If you have decided to go down the curbside mailbox around there are a couple of things you are going to want to think about. The USPS has some pretty stringent requirements your new curbside mailbox is going to need to meet, with the most important ones involving how your mailbox is placed alongside the road.
USPS Requirements
- You need to place your mailbox so that it is between 41 inches and 45 inches from the surface of the road to the bottom of the actual mailbox itself – the mailbox door where the mail carrier is going to stick your day’s delivery.
- It’s also important that your mailbox is positioned anywhere between 6 inches and 8 inches away from the curb. This can be difficult to pull off if you don’t have a traditional curb, though you can usually “ballpark it” if you don’t have an HOA or a neighborhood watch that is particularly aggressive.
- You need to make sure that you have lettered your mailbox with your house number or apartment number at the very least.Some people go all out and make sure that they add their street name, their household name, and other embellishments – but you definitely don’t have to go in that direction if you don’t want to.Just make sure that your street number is easily observed from the road so that there’s no confusion when your mail carrier arrives and you’ll be good to go. Consider reflective numbers that work well in low light and poor weather conditions, too.
- Finally, and this is really only important if your mailbox is on a different street than your house or address, the USPS requires you to include your entire street address on the box.You don’t have to include the town, the state, and the ZIP Code as well, but if you live at 123 Main St. in Anytown, USA you’re going to need to make sure that 123 Main St. is prominently located on your offstreet mailbox.
How to install the mailbox
This is going to involve quite a bit of manual labor. You’re going to need to do some digging, so be sure that you have a shovel and a post hole digger on hand.
- Measure out 6 to 8 inches from the curbside of the road and begin digging a 6 x 6 (or slightly larger) hole in the ground to accommodate the 4 x 4 treated lumber post you’re going to be sinking into the ground.You’re definitely going to want to start with the shovel and then finish things up with the post hole digger, though you can speed things up even more if you get your hands on a powered auger.Definitely don’t buy one if the only thing you’re going to do was dig a single mailbox whole. But if you’re going to be running posts for a fence or have other uses for this kind of tool it’s going to make life a whole lot easier!
- After digging down into the ground (how far you deep is going to be dependent on local building codes and your regional weather and climate conditions, as well as soil conditions, too) you’re going to want to pour some gravel into the bottom of the hole itself.About 3 to 6 inches of gravel in the bottom of the whole is going to provide for lot better drainage. That’s going to make sure that your treated post doesn’t get rotten over time, and that water doesn’t have an opportunity to freeze directly underneath your post and start lifting and twisting it, either.
- The next piece of the puzzle is to prepare concrete mixture (according to the instructions) and get your post ready to be set.
- Drop your post directly into the hole on top of the gravel and then start backfilling it with concrete.You don’t have to worry too much about making sure that your post is perfectly straight, perfectly level, and perfectly plum right away – but you don’t want it flailing all over the place while you pouring concrete, either.
- After concrete has filled the whole completely it’s time to break out that level and check for plum, square, and level. You want your new mailbox to look nice, don’t you?
- The last piece of the puzzle here is to allow that concrete plenty of time to set up and dry before you even think about putting a mailbox on top of it. Give it three or four days (and even longer if you are tackling this project in cold weather) before you put your new mailbox on top of it.You can go with a traditional mailbox made specifically for 4 x 4 treated posts, following the installation instructions to the letter to guarantee that that job gets taken care of the right way.You can also cook up a custom creation (think about those cuckoo clock, dollhouse, or crazy woodworking project mailboxes you likely seen in your neighborhood or town before) and mounted to the 4 x 4 post as well.
At the end of the day, make sure that the mailbox weight supported, that all brackets are firmly tightened down, and that your hardware is designed to withstand all kinds of wind, weather, and anything else your mailboxes going to be subjected to.
It’s not a horrible idea to run a piece of florescent tape or reflective tape up and down the length of your post, either. That’s especially useful for people that live in colder climates where plow trucks might not necessarily see where your mailbox was in a storm!

Door Slot and Wall Mounted Mailboxes
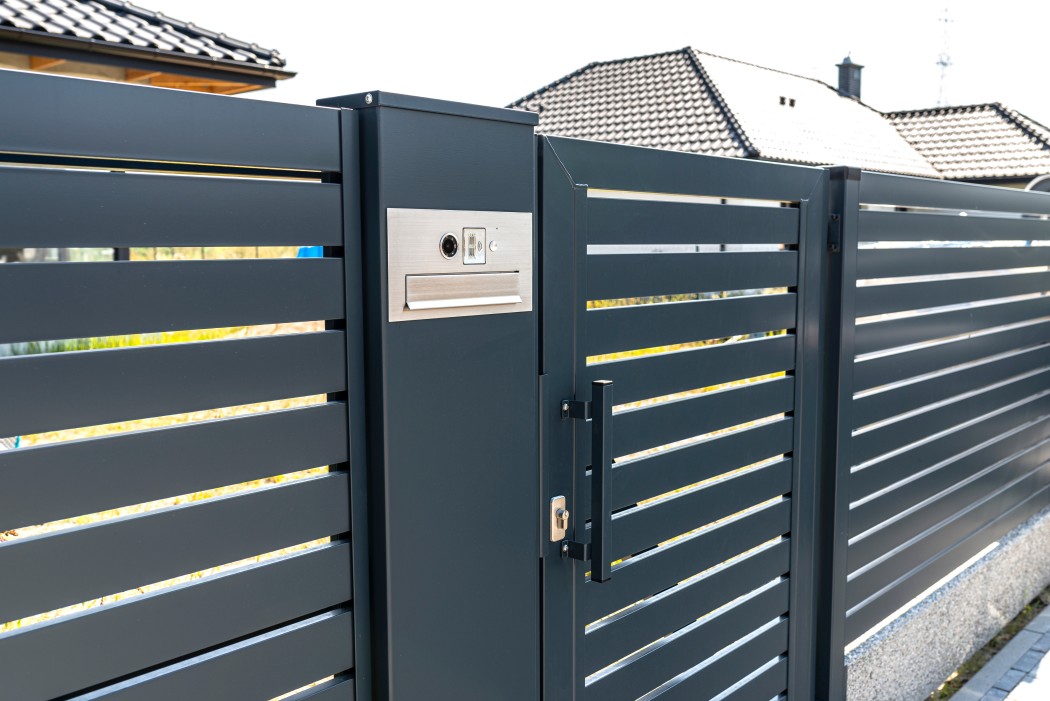
If you are going to go to the door slot or wall-mounted mailbox direction, just know that you aren’t going to have to spend as much time tackling this project than you would have with a curbside solution. All the same, the USPS does have rules and requirements you need to meet for approved door slots and wall-mounted mailboxes, too.
USPS requirements for approved door slots & wall-mounted mailboxes
For starters, door slots need to:
- Have openings that are at least 1.5” x 7”
- Have the bottom of the door slot located at least 30 inches above floor level
- Must include a flap hinge on top of any horizontal slot
- And vertical slots have to be hinged on the opposing side from the door slots themselves
If you want to take advantage of “privacy hood” accessories with these kinds of slots you’ll need to be sure that:
- The hood doesn’t stick out any further than 2 inches beyond the inside of the door itself
- The hood doesn’t stick out any further than the bottom of the outside door kickplate
- That the hood on a vertical slot doesn’t extend any further than the outside plate on the same side of any door hinges
Cutting door slots into existing doors is always a bit of an adventure, and one you’re only going to want to tackle if you are comfortable with power tools and confident that you can get the job done with a professional finished result.
If not, there’s no shame in calling in the experts and having a carpenter, woodworker, or handyman tackle the project for you.
If you have decided to go with wall-mounted mailboxes, though, you’ll want to make sure that they:
- Meet the local rules and requirements established by your postmaster
- Are mounted directly to an exterior wall that can handle an average daily mail volume
- Are placed near the main entrance so that mail carriers can spot them easily and get to them without obstruction
Some of the best wall-mounted mailbox solutions on the market today include what’s known as a Post Master General “Seal of Approval”. Your wall-mounted mailbox doesn’t necessarily have to include a PMG certification, but if it does just know that you’re not only going to be using a great mailbox but you’re also going to be making the lives of your mail carriers a lot easier, too.
How to install a wall-mounted mailbox
All it really takes to install a wall-mounted mailbox is to attach it firmly to an exterior wall with a fastener that can withstand the outdoor elements. Driving oversized lugs, large galvanized screws, or treated nails into a stud and then hanging a metal wall-mounted mailbox off of that is the easiest way to knock this project out.
You’ll want to be sure that you are in a stud, though – especially if you expect high mail volumes. Cheap out with your fastener here or miss that stud and your wall-mounted mailbox (and all of your mail) will inevitably end up all over your driveway or yard!

Don’t Want a Mailbox? US Global Mail Has You Covered!
Having the opportunity to install your own mailbox gives a real feeling of ownership and control for sure, but nothing beats the amount of ownership and control you get over your mailing experience when you sign up for US Global Mail!
One of the most trusted and reputable virtual mailbox services on the planet today, US Global Mail offers you digital mail scanning, mail forwarding, package acceptance, and even check-cashing capabilities – all with a physical mailing address that protects your privacy at the same time!
To learn more about how US Global Mail can help make your life a little easier, contact them directly or check out their website today!


